
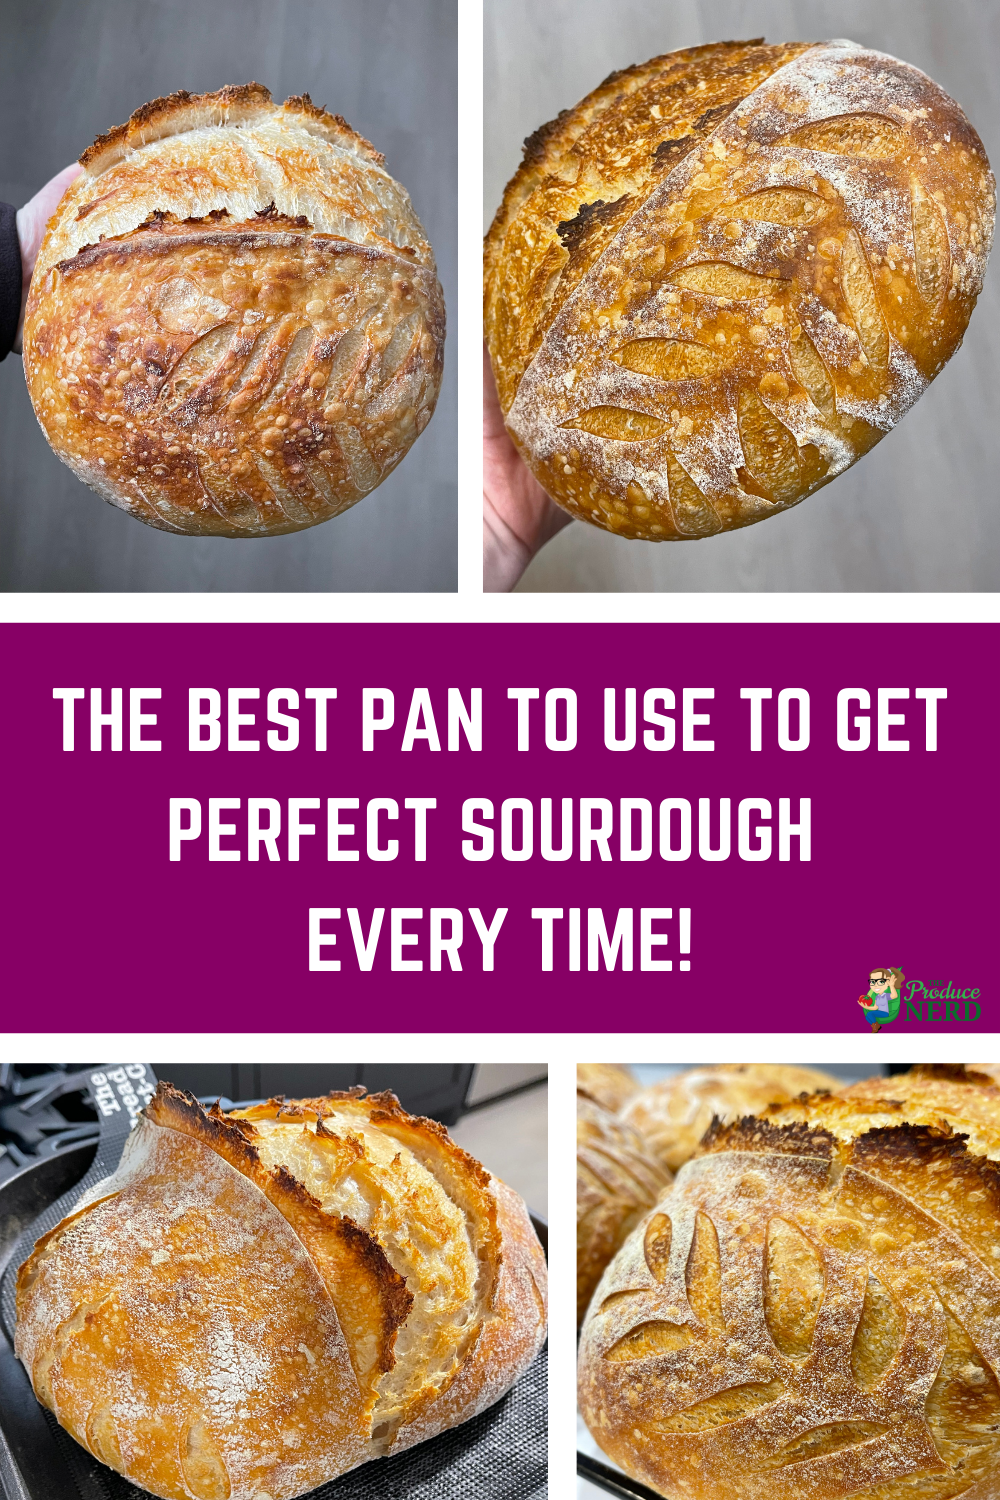
Whether you are just getting in to sourdough, or are looking to level up your equipment, I am going to convince you why the Challenger Bread Pan is the one for you! I have been using the Challenger Bread Pan for the past two years, and have been really pleased with it. Not only does it bake super consistently, but it results with the best sourdough crust, and most importantly for me, no burnt bottoms!
(Disclaimer: This post contains affiliate links, which means I may earn a small commission if you purchase anything from my links, which will be at no extra cost to you. Thank you for supporting my small business!)
Table of Contents
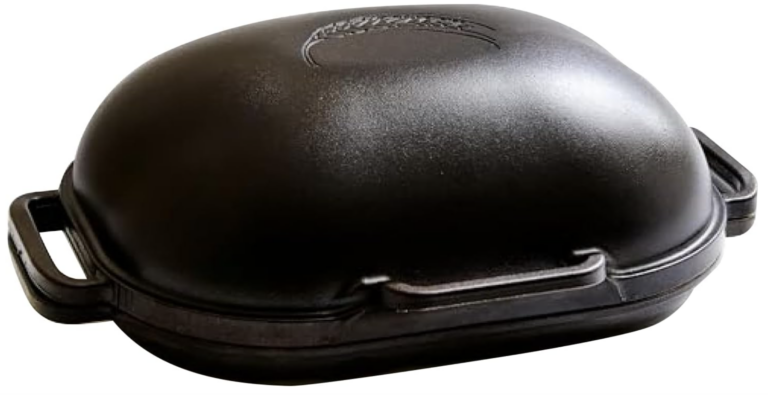
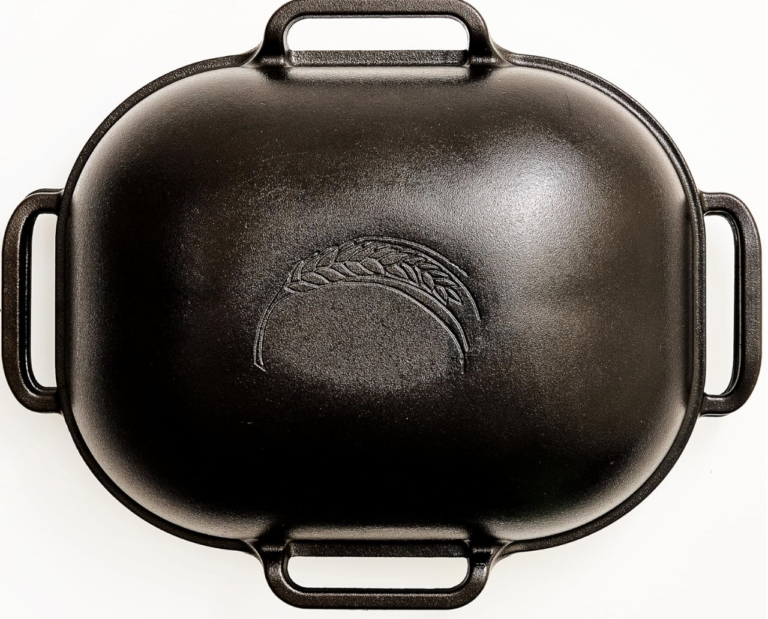
What is the Challenger Bread Pan?
The Challenger Bread Pan is a cast iron pan that is most notably used to bake sourdough bread. Some highlights include that it is made in the United States, is a cast iron pan that will last forever, it has handles that easily allow for you to remove the lid without easily burning yourself and it bakes sourdough so seamlessly in your regular oven at home!
How to Use the Challenger Bread Pan to Bake Sourdough?
When you want to bake a loaf of sourdough, the following instructions are all you need to do to get a great bake with the Challenger Bread Pan:
- Move your oven racks down so that your pan can bake essentially in the middle of your oven. (You want to make sure that there’s enough room for your loaf when you invert the pan in the middle of your bake.)
- Turn the oven to 450F. (This might vary depending on your oven and the climate in which you live, but I would start here and then alter it as needed when you first get started with your bakes.)
- Make sure the lid is on correctly and place the entire Challenger Bread Pan into the oven. You want the pan in the oven as it preheats. That way, the pan will heat with it, and you won’t need as much extra time heating up the oven before baking your loaf. (I normally put my pan in as the oven preheats and then leave it in another 20 minutes before adding in my loaf.)
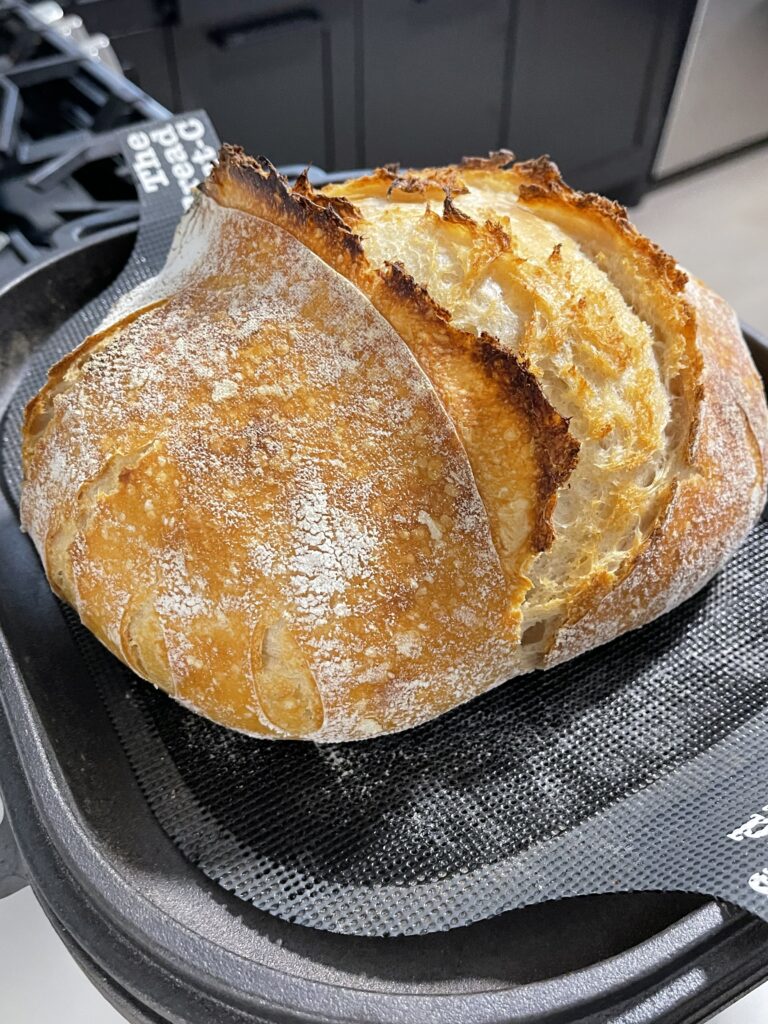
- Once the pan has preheated, take it out of the oven, open it up and place your scored loaf on the bottom portion and put the lid back on. (I use The Bread Mat-C to transport my bread into and out of my pan, but parchment paper will work as well. It needs to be between the loaf and the pan.)
- Now, the sealed pan goes back into the oven to bake. You will need to play around with times with your specific oven and with the different sizes of your loaves. (For mine, I bake loaves between 750g-950g at 450 for 30 minutes, and then uncover and invert the pan.)
- After the initial baking portion, you want to remove the lid (this is easy to do with the handles on the top), and invert the pan. I like to take the lid off from inside the oven (so instead of lifting the whole thing out, I just lift the lid off first). Then, I flip the lid upside down, remove the bottom portion from the oven and place it on top.
- The pan then goes back into the oven uncovered for an additional bake and to get a nice color! (For me in my oven, this is an additional 10 minutes uncovered. In addition to different ovens, people also have different preferences on how much color they want their loaves to have. I like mine more of a golden brown color, not too dark, and not burnt looking in any way on the bottom.)
- Once the time is up, your loaf will appear with great crust and color, and will be ready to go! Your loaf will be looking so good that it will be hard to wait for it to cool!
How to Clean the Challenger Bread Pan?
Since the pan is made out of cast iron, and you are using a barrier between your loaf and the pan, you don’t really need to wash your pan. You might end up with a few crumbs at the bottom of your pan at the end of the bake that you can wipe out, but no water needs to be used. You will, however, want to maintain your pan with some oil.
How to Maintain the Challenger Bread Pan?
All you need is some oil and a non-fluffy towel. You want to put some oil (we use either olive or avocado oil) on a towel and then wipe the pan with the oil.
If there are any spots that are looking like they are starting to rust, you can put a little bit of soap and water on that part of the pan, use an SOS pad to scrub it off, rinse, and then re-oil the pan. At the end, you should have what looks like a brand new pan!
It is also important to note that you don’t need to do this after every bake, just when it starts to look like it needs it.
My Experience Using the Challenger Bread Pan
I had just started baking regular yeast bread for my family about 6 months prior to a friend inviting me to a sourdough course, which ended up changing everything! That peaked my interest and I was eager to learn something new, especially since I am from California and was living in Georgia (where the California sourdough was nowhere to be found)!
I didn’t have any form of Dutch oven, did my research and decided that if I was going to give it a real go, that I should just invest in the Challenger Bread Pan and give it a real shot. (Because if it didn’t work out, I could always learn other recipes to use in the pan, or sell it on Facebook Marketplace!)
So, I started my sourdough journey. It took me three different starters to find the flavor I was looking for, but along the way, I was able to understand the timing and temperature to use the Challenger Bread Pan in the oven. Now, two years later, I am in Texas and have a micro bakery that I run out of my home, where I am still using my Challenger Bread Pan for my artisan loaves because nothing else can compare! Also, when you invert the pan for the last part of the bake to get the loaf to color up and the bottom does not get really dark, that is the best win for me!
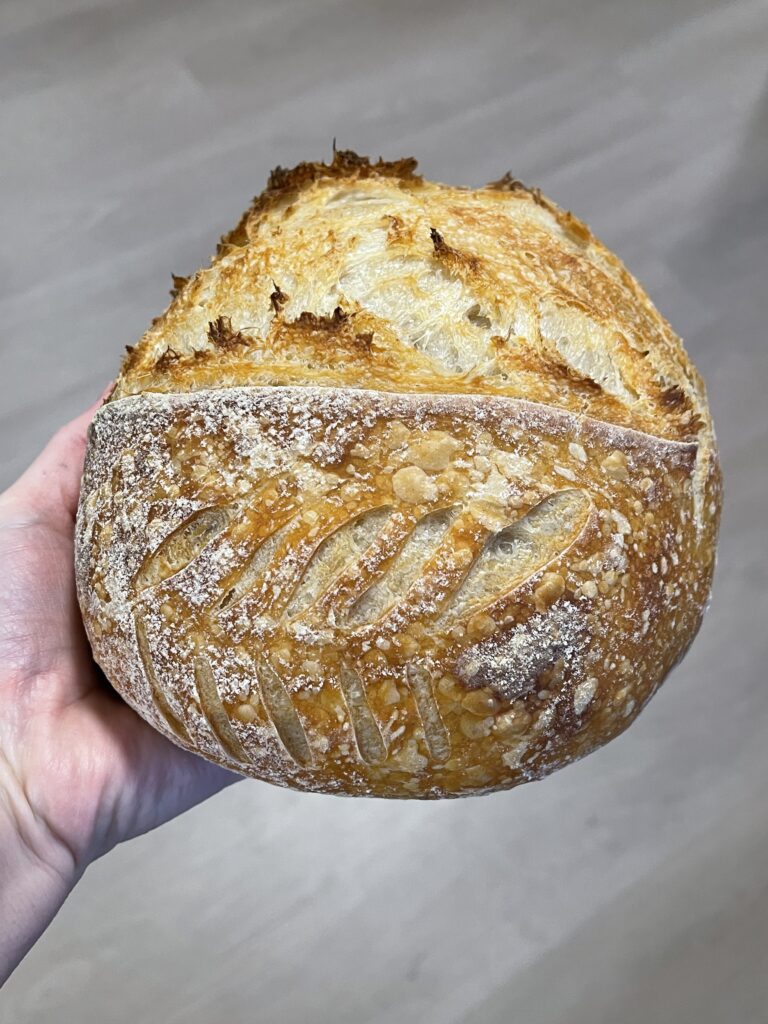
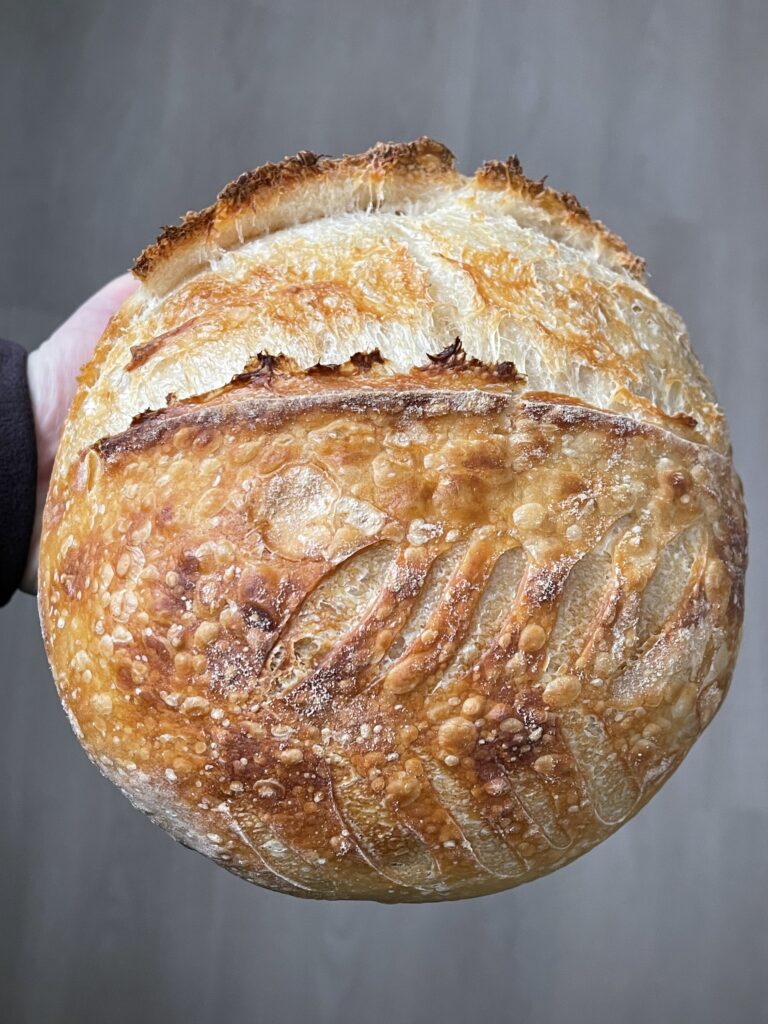
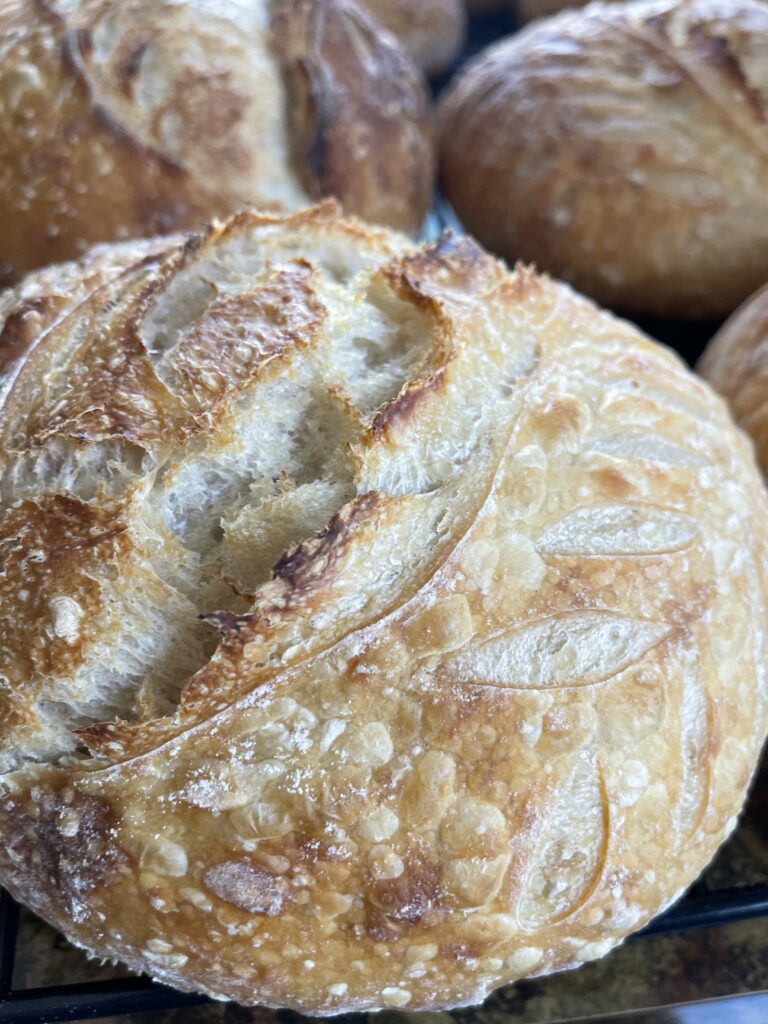
Even with my micro bakery, I still insist on doing artisan loaves in the Challenger Bread Pan because so many people have commented on the look and feel of my loaves that I don’t want to ruin that experience for them! If you’re going to do sourdough at home, you might as well do it the right way!
Here are some of my favorite creations:
Pros
- Awesome bake every time.
- No burnt bottoms.
- The handles make it really easy to grab and take the lid on and off.
- Easy to maintain
- No limits on loaf size (I bake “normal” sized loaves and there’s plenty of room left).
- You can use it to make different forms of sourdough, as well as other things besides sourdough.
- They are made in the USA!
Cons
- It’s expensive (especially compared to other options you could bake sourdough in).
- It is heavy. At the beginning, it will seem super heavy, but once you get the hang of it, it will get easier to lift in and out of the oven!
Frequently Asked Questions
Is a Challenger Bread Pan worth it?
Yes! If you are into baking sourdough and have the means to buy one, it is so worth the money!
How often do you need to re-season the Challenger Bread Pan?
I haven’t had to re-season mine and I have been using it for two years. However, after baking for a couple of weeks, we will put some avocado oil on the outside of the pan and then it will naturally soak into the pan during the bakes. We don’t put oil on the inside, just because it has never needed it, but you can if you need to.
Do I need to use ice when baking with a Challenger Pan?
The Challenger Bread company advertises the use of an ice cube, however, I was always intimidated to try it and after my bakes without ice came out perfectly, I have never felt the need to try it.
Which types of pans are best for baking sourdough?
Cast iron pans are the best for baking sourdough. I prefer the Challenger Bread Pan, however, any type of cast iron that has a lid will work.
What are comparable bread pans to the Challenger Bread Pan?
Some other cast iron options that are comparable to the Challenger Bread Pan are the Lodge and Staub USA dutch ovens. It all comes down to what you would like to accomplish and the amount you are looking to spend.
Other Challenger Products that I Use & Enjoy
Challenger Breadware has a lot of great products to use while preparing sourdough in their shop. Some items that I use and love are their:
- Starter Jar Sets – They come in a pack of two and when you are just baking one or two loaves at a time, they are the perfect size jar to feed your starter in, and if you transfer your starter into the fridge between feedings (like I do!), then you can easily put that one in the fridge and then pull it out and start a new jar for your next feeding on the counter.
- Bannetons – The circular bannetons are my favorite because I prefer the more circular shape to the oval shape when making my artisan loaves. I use these bannetons, which already have a fabric covering, but I also layer an additional linen towel over it, sprinkle it with flour and place my loaf inside.
- Biodegradable Dough Covers – I have used these as a cover when I am feeding my starter in order to bake in bulk. Also, if you use a recipe with lower hydration, you can use these covers while doing your coldproof. (I do a higher hydration percentage on my dough and prefer to only cover with a towel instead of these because if I use these, it will make it too hard for me to score prior to baking.)
Conclusion
I love the Challenger Bread Pan and have been so happy with it! I have been able to bake for myself and for others, and even bake to sell using this pan! I have also had multiple people mention that it’s the best crust they have ever had. And, for me, being able to bake sourdough without a burnt bottom or burnt anything, so that you only focus on the yummy flavor and good texture has been just so awesome for me! I highly recommend buying one if you are looking to get into regularly baking sourdough, or if you are already baking sourdough and want to step up your game and make your life easier!
Where to Buy the Challenger Bread Pan
The Challenger Bread Pan is currently being sold on their website and on Amazon. It is selling for the same price and offering free delivery on both sites. You pick your preference, but I always prefer to go directly through the company so that they can get the full benefits from my purchase, especially when they are offering free delivery as well.
If you enjoyed this post, you might also be interested in: